Camera Settings for Capturing Sedona's Scenic Views
Understanding the Unique Lighting of Sedona
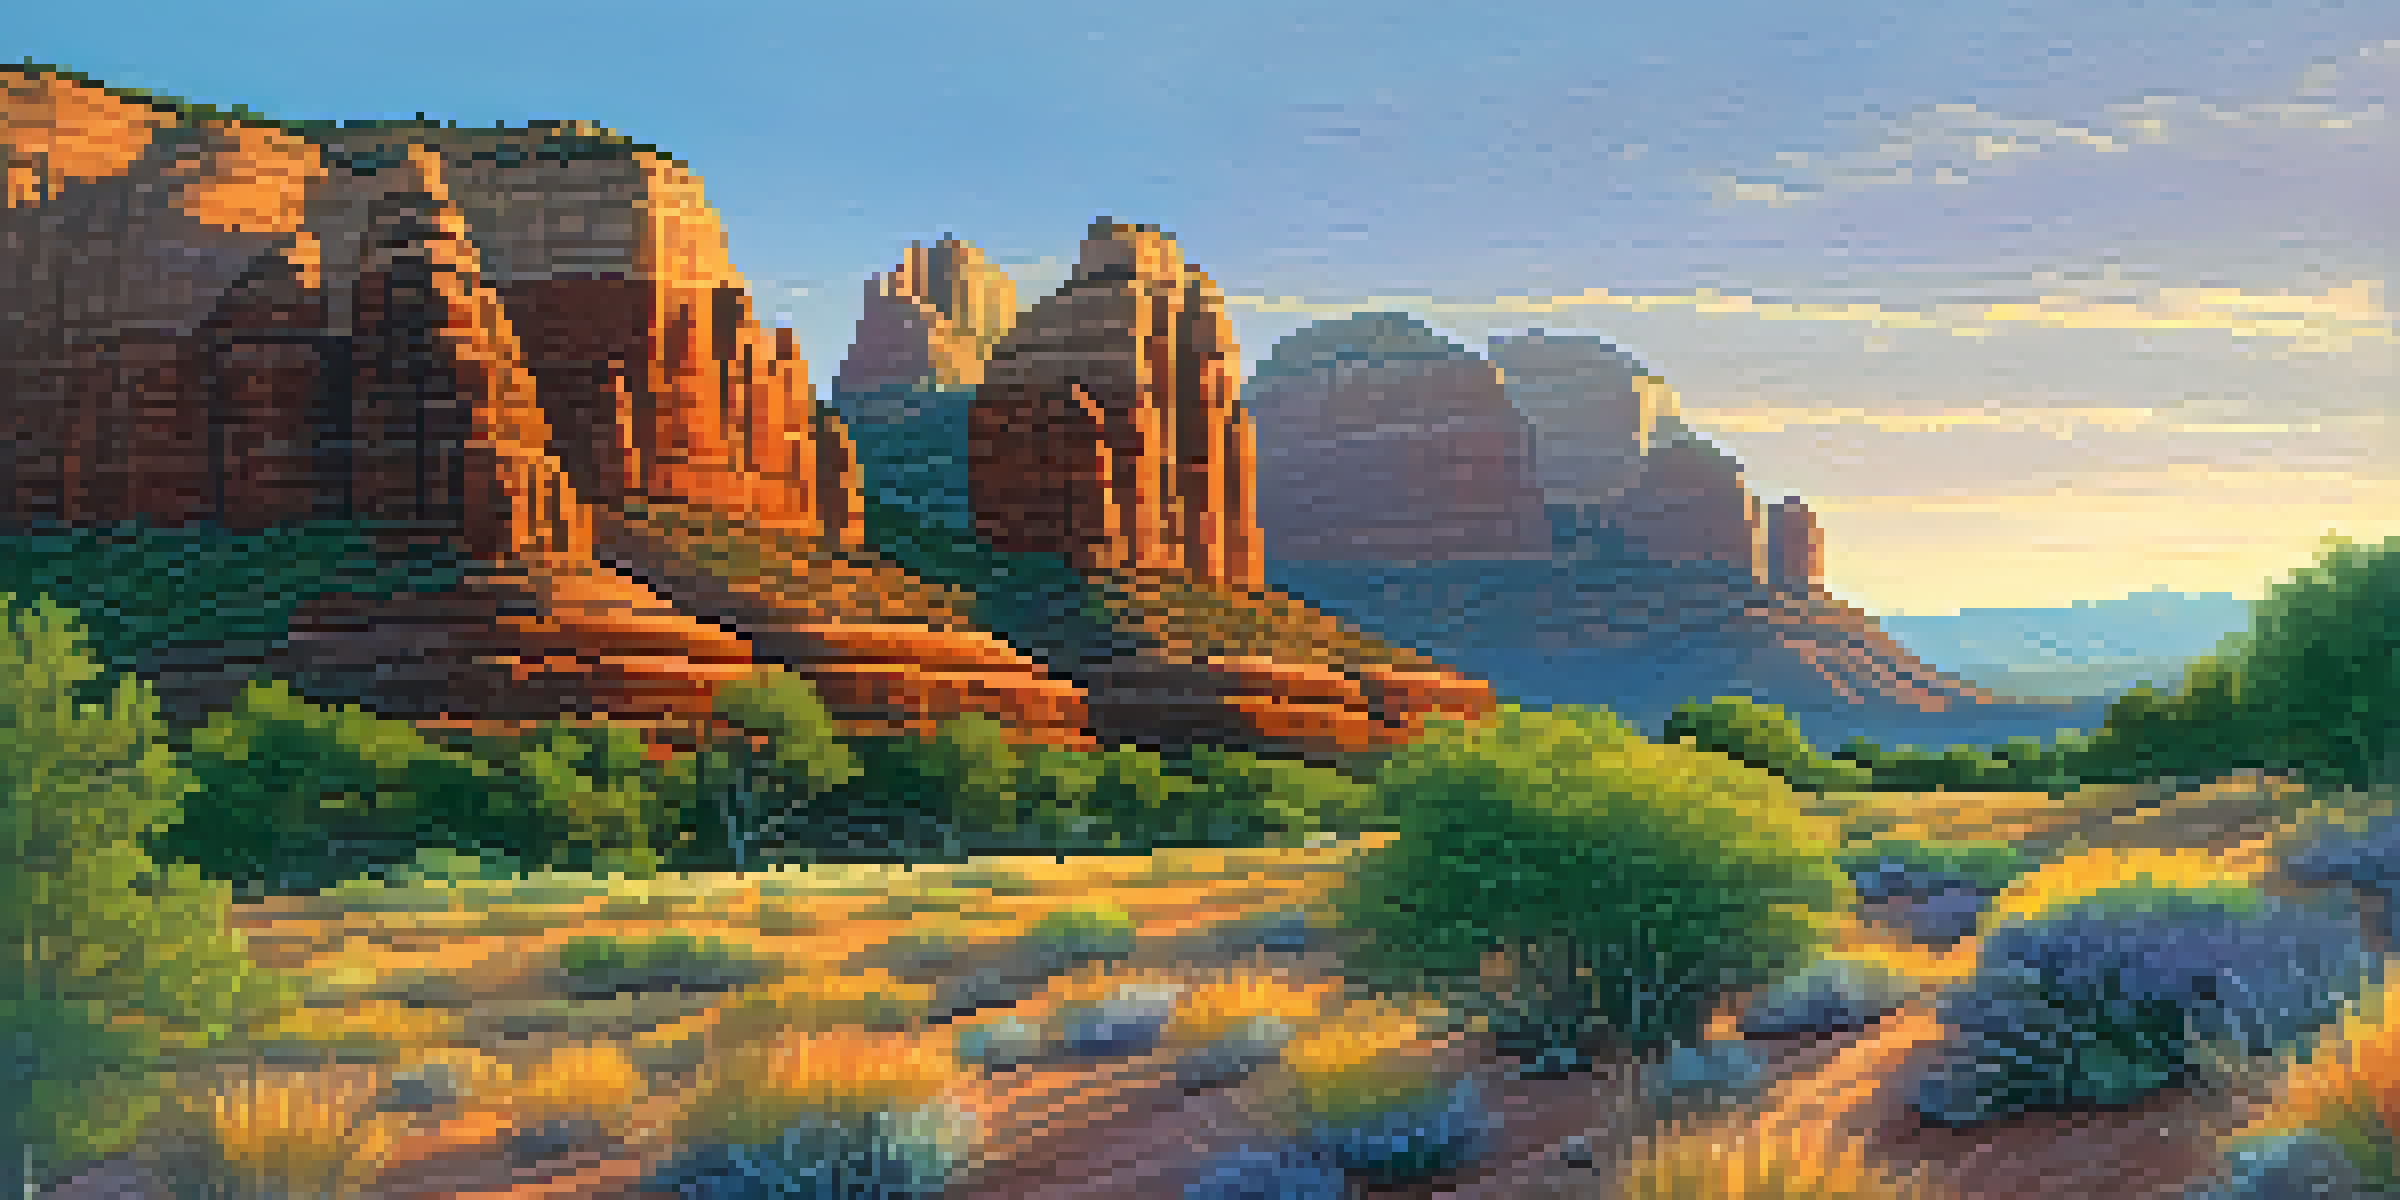
Sedona is renowned for its stunning red rock formations, but the lighting can be tricky. The sun often casts long shadows, especially during sunrise and sunset, making it essential to understand how to use light to your advantage. Pay attention to the golden hour—the hour right after sunrise and before sunset—when the light becomes softer and more diffused, enhancing your photographs.
The eye should learn to listen before it looks.
Additionally, Sedona's bright midday sun can create harsh contrasts, which might not be flattering for your images. If you find yourself shooting during these hours, consider using a polarizing filter. This tool helps reduce glare and enhances colors, making your images pop while still capturing the beauty of the landscape.
Related Resource
Experimenting with your camera's exposure settings can also help manage the unique lighting conditions. Use exposure compensation to brighten or darken your images, ensuring you capture the vibrancy of Sedona's scenery without losing detail in the highlights or shadows.
Choosing the Right ISO for Sedona's Terrain
ISO plays a crucial role in how your camera captures light, and when you're in a place as visually striking as Sedona, getting it right is key. For daytime shots, especially in bright conditions, keep your ISO low, around 100-200, to maintain image clarity and reduce noise. This setting will help you get those crisp, vibrant photos of the iconic red rocks.
In contrast, if you're shooting during the golden hour or in lower light conditions, don't hesitate to increase your ISO to 400 or higher. This adjustment allows your camera to gather more light, helping you capture those breathtaking sunset hues without introducing too much graininess. Just remember, higher ISO can mean more noise, so find a balance that works for you.
Mastering Sedona's Unique Lighting
Understanding the golden hour and using tools like polarizing filters can greatly enhance your photography in Sedona.
Always keep an eye on your surroundings and adjust your ISO based on the scene. For instance, if you’re capturing the intricate details of a rock formation in the early evening, a slightly higher ISO can help you achieve better results without compromising too much on quality.
Aperture Settings for Depth of Field in Landscapes
Aperture is another essential camera setting that can dramatically affect your landscape photos. In Sedona, where vast landscapes stretch before you, a smaller aperture (higher f-stop number) like f/8 or f/11 is often ideal. This setting allows for a greater depth of field, keeping both the foreground and background sharp and in focus, which is perfect for showcasing those stunning rock formations and desert vistas.
Photography is the story I fail to put into words.
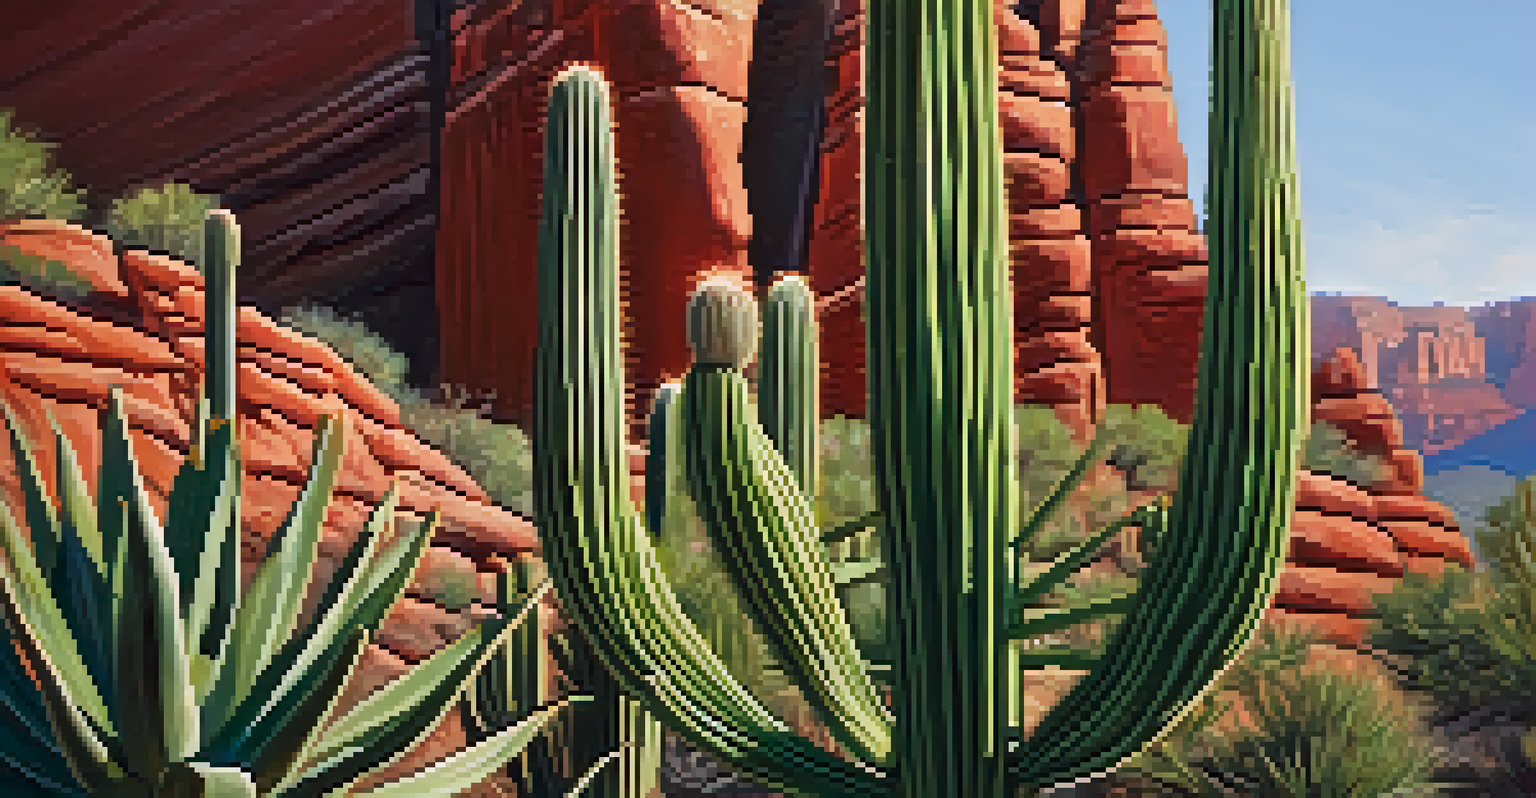
However, if you want to emphasize a particular foreground subject, like a cactus or a flower, consider opening up your aperture to around f/2.8 or f/4. This technique creates a pleasing bokeh effect, blurring the background while bringing your subject into sharp focus, drawing the viewer's eye exactly where you want it.
Related Resource
Experimenting with different aperture settings can also help you discover unique perspectives. Don't be afraid to try various f-stop values and see how they change the feel of your photos, especially in a place as picturesque as Sedona.
Shutter Speed: Freezing or Blurring Motion
Shutter speed is a powerful tool for photographers, allowing you to control how motion is captured in your images. In Sedona, you might want to freeze the action of a mountain biker or hiker, so a faster shutter speed (1/500s or higher) will help you capture crisp, clear images without any motion blur. This is particularly useful during busy times when the trails are filled with activity.
Conversely, if you're capturing the flow of a waterfall or the gentle sway of trees in the wind, a slower shutter speed (1/15s or slower) can create a beautiful motion blur effect. This technique adds a sense of movement and dynamism to your landscape shots, making them feel alive and vibrant.
Optimize ISO for Stunning Shots
Adjusting your ISO according to the lighting conditions is crucial for capturing the vibrant colors of Sedona's landscapes.
Always remember to stabilize your camera when using slower shutter speeds. A tripod can be a lifesaver, ensuring your images remain sharp and free of unwanted camera shake, especially in the evening light when you may be shooting with longer exposure times.
Utilizing White Balance for True Colors
White balance is crucial for ensuring that the colors in your photos appear as they do in real life. In Sedona, the warm hues of the rocks can sometimes trick your camera into capturing images that look too orange or yellow. Adjusting your white balance can help ensure your photos reflect the true colors of the stunning landscape.
You can start by selecting the 'Daylight' or 'Cloudy' white balance setting, particularly when shooting outdoors. These settings can help warm up your images, making the reds and oranges of Sedona's rocks stand out more vividly without looking unnatural.
Related Resource
If you're shooting in mixed lighting conditions, consider manually adjusting the white balance to match the scene. This flexibility allows you to keep the integrity of the colors, so when you look back at your photos, they truly reflect the breathtaking beauty you experienced.
Framing Your Shots: Composition Tips for Sedona
Composition is key to creating engaging and balanced images, especially in a visually captivating location like Sedona. Utilizing the rule of thirds can dramatically improve your photographs. Imagine dividing your frame into nine equal parts with two vertical and two horizontal lines. Place your subject along these lines or at the intersections to create a more dynamic composition that draws the viewer’s eye.
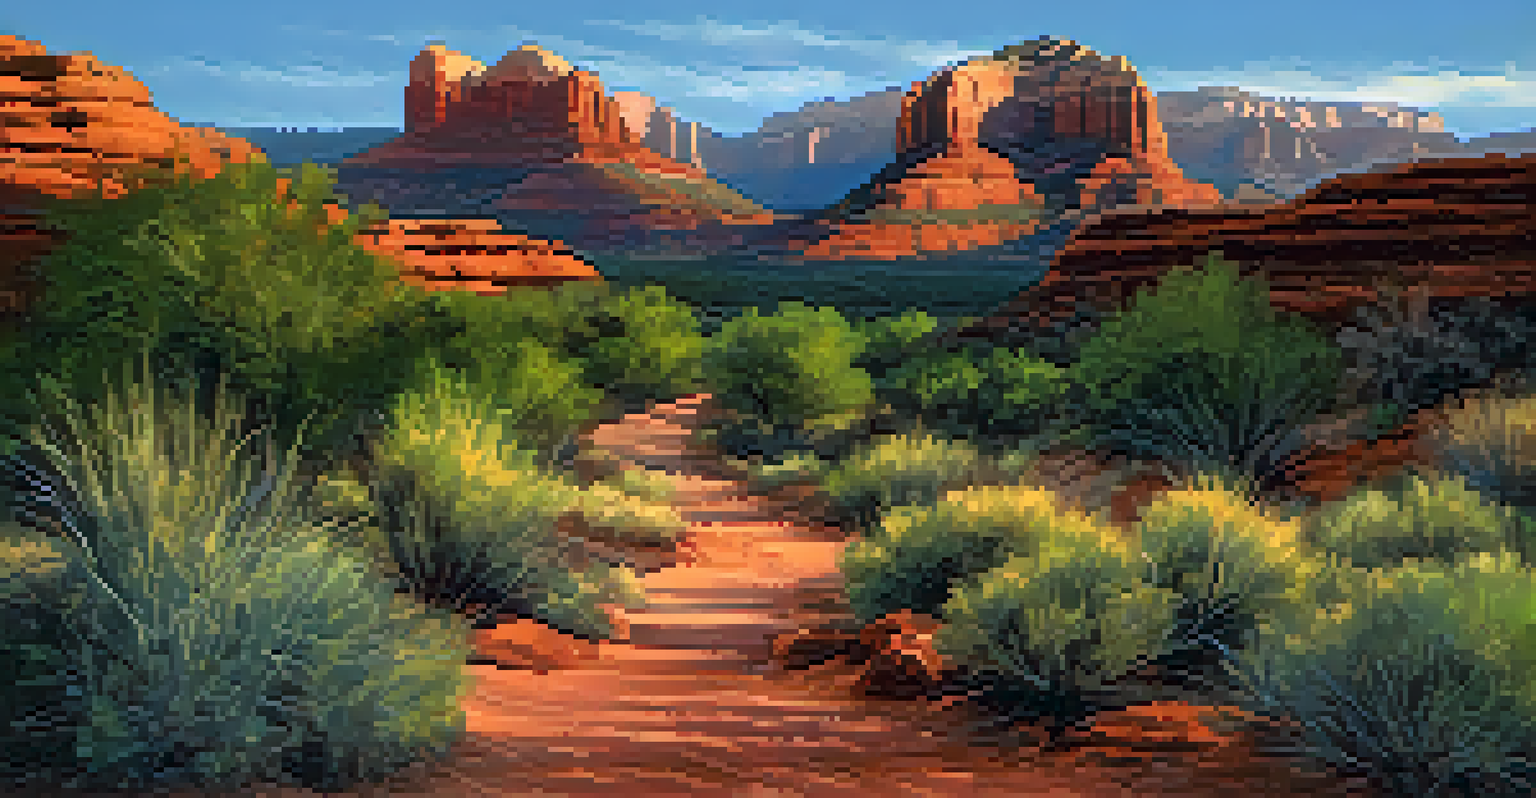
Another effective technique is leading lines. Look for natural lines in the landscape, such as paths, rivers, or rock formations, that guide the viewer's eye into the scene. This method not only adds depth but also helps to create a sense of journey within your photographs, making them more compelling.
Composition Techniques for Impact
Utilizing the rule of thirds and leading lines can significantly improve the composition and visual appeal of your Sedona photos.
Don't forget to experiment with different angles and perspectives. Sometimes, getting low to the ground or finding a higher vantage point can offer a fresh view of familiar scenery, revealing unique and stunning compositions that tell a more vivid story of Sedona's beauty.
Post-Processing: Enhancing Your Sedona Photos
Once you've captured your photos, post-processing can elevate them to the next level. Using software like Adobe Lightroom or Photoshop allows you to fine-tune aspects such as exposure, contrast, and color balance. This step is particularly useful for landscapes, where you can enhance the rich reds and greens that Sedona is famous for, ensuring your images truly reflect what you saw.
Be careful not to over-edit, though. The goal is to enhance your images without losing the essence of the scene. Subtle adjustments can often yield the best results, keeping the viewer's focus on the breathtaking landscape rather than the editing techniques used.
Consider creating a consistent editing style that reflects your aesthetic. This can help your Sedona photos stand out, making them instantly recognizable and adding a personal touch to your portfolio.