Post-Processing Tips for Sedona Landscape Photography
Understanding the Basics of Post-Processing
Post-processing is the stage where your photography truly comes to life. It involves adjusting various elements of your image to enhance its overall appeal. Think of it as the finishing touches on a painting, where you can refine colors, contrast, and sharpness to create a masterpiece.
Photography is the story I fail to put into words.
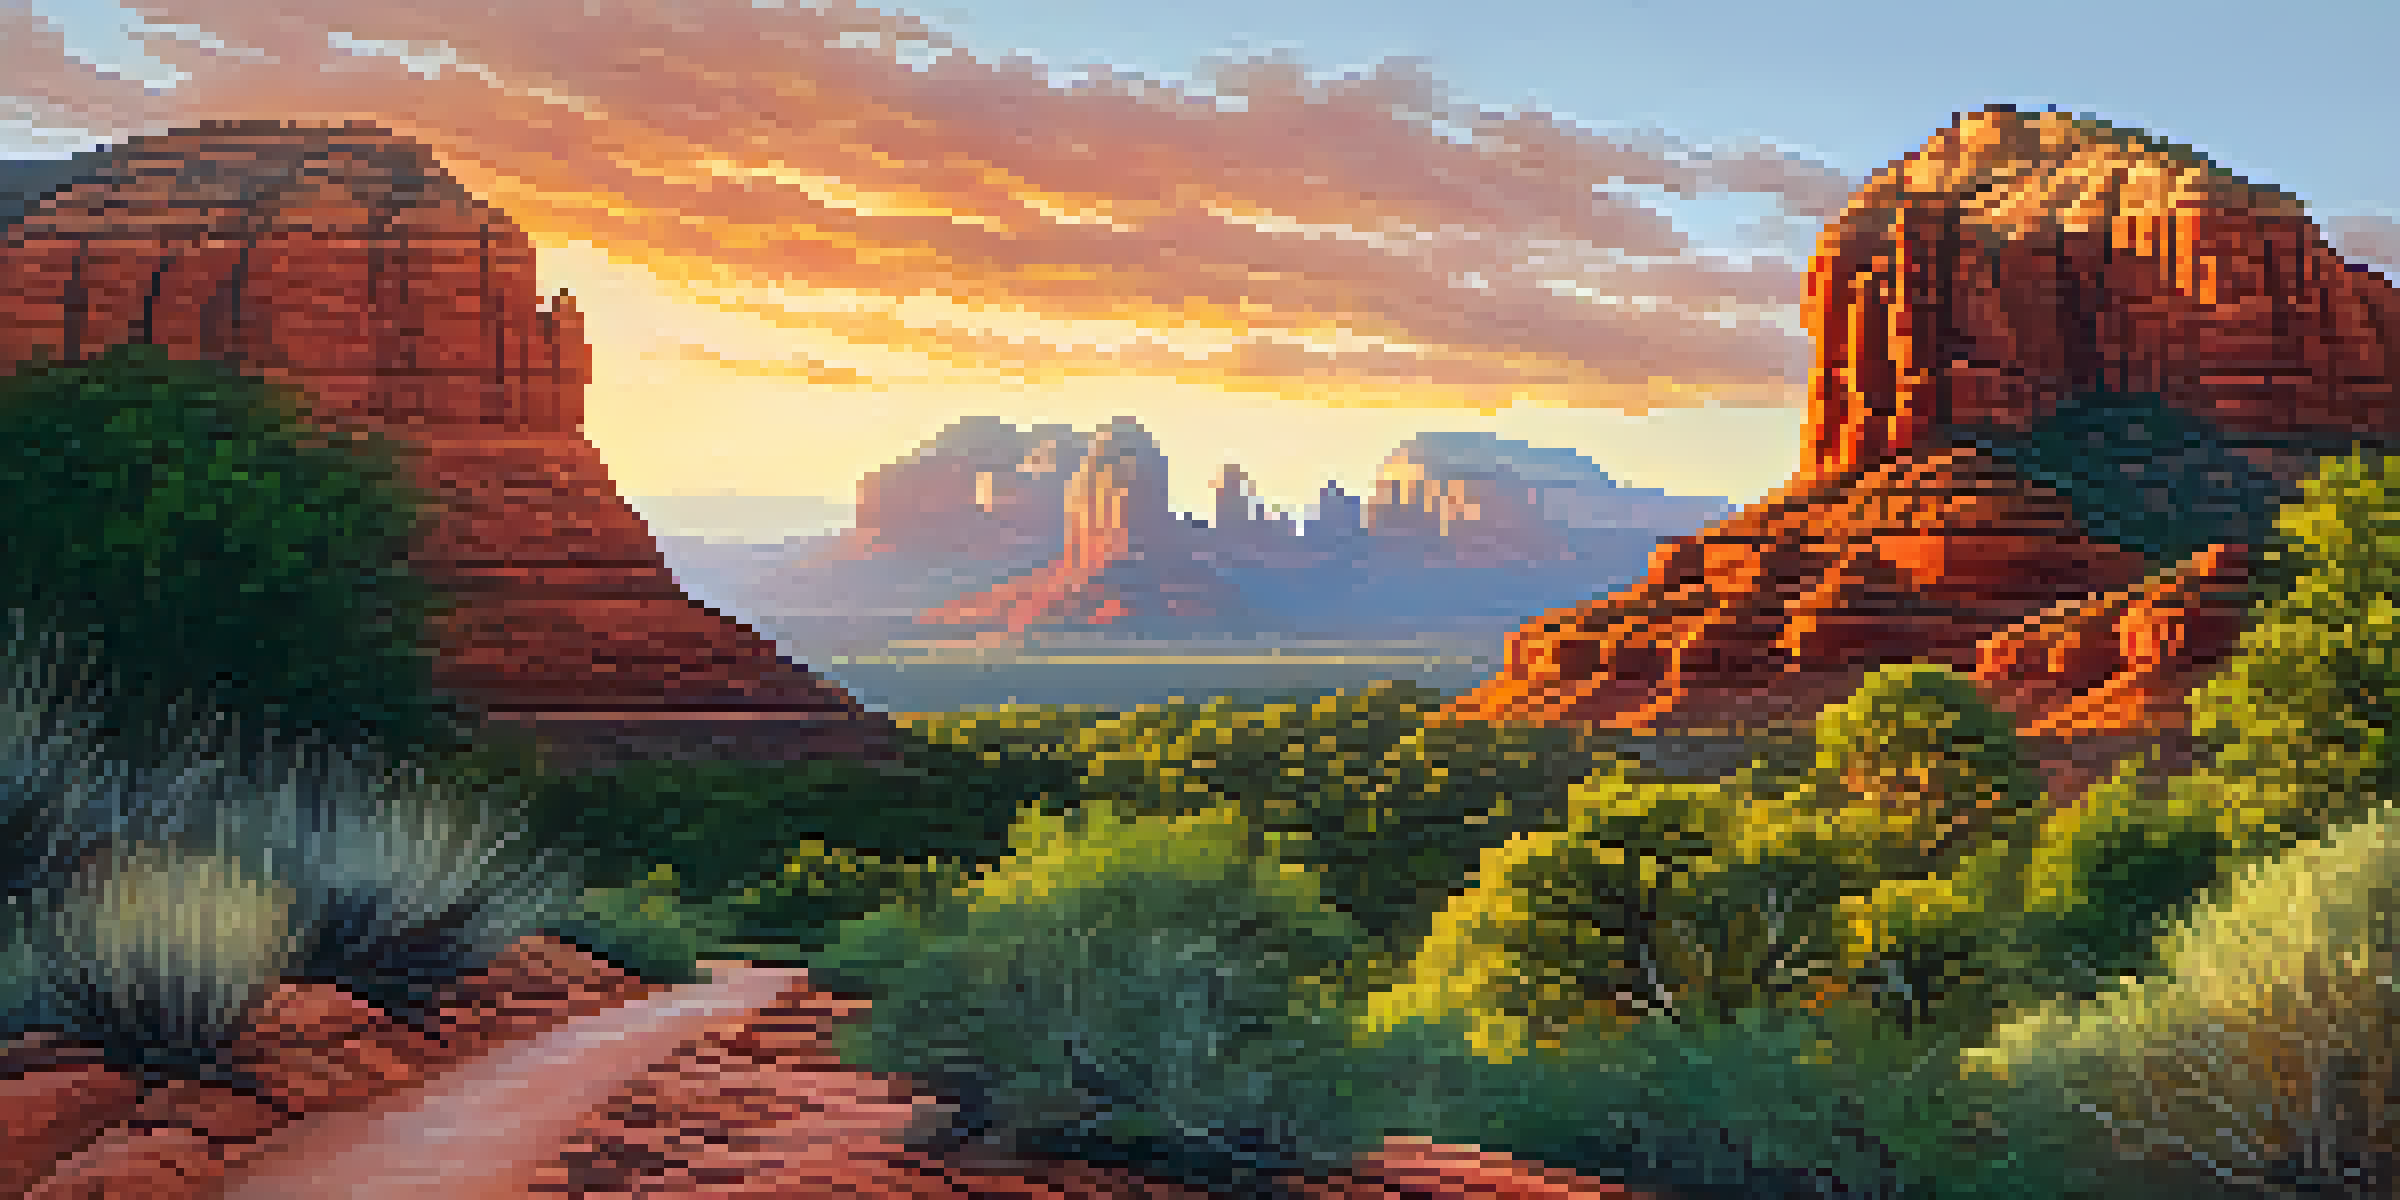
In Sedona, where the landscapes are vibrant and dynamic, post-processing is especially crucial. You want to capture the essence of those stunning red rocks and vivid sunsets, which can sometimes be lost in the raw image. By understanding the basics, you can ensure your final piece reflects the beauty you experienced in person.
Related Resource
Whether you use software like Adobe Lightroom or Photoshop, familiarizing yourself with the tools available can make a world of difference. Start with simple adjustments before diving deeper into more complex techniques, ensuring a solid foundation for your editing journey.
Adjusting Exposure for Balanced Images
Exposure refers to how light or dark your photo appears, and getting it right is essential for capturing Sedona's dramatic landscapes. If your image looks too bright or too dark, it can detract from the natural beauty of the scene. Thankfully, most post-processing software offers tools to adjust exposure easily.
When editing, aim for a balanced exposure that highlights the rich colors of the red rocks without losing detail in the shadows or highlights. A general rule of thumb is to check the histogram; it should ideally show a balanced spread of tones, indicating that you've captured the full range of light in your image.
Master Post-Processing Techniques
Post-processing is essential for enhancing photography, allowing you to refine colors, contrast, and sharpness to create stunning images.
Don't hesitate to experiment with exposure settings until you achieve a look that feels true to what you saw. Remember, the goal is to enhance the natural beauty of Sedona, not to artificially alter it. Finding that balance can make your landscapes truly pop.
Enhancing Colors to Capture Sedona's Vividness
Sedona is renowned for its breathtaking colors, from deep reds and oranges to lush greens. Enhancing these colors in post-processing can help bring your images closer to what you experienced in real life. However, it’s important to strike a balance to avoid overly saturated images that feel unnatural.
The best camera is the one you have with you.
Start by adjusting the vibrance and saturation settings in your editing software. Vibrance selectively boosts the intensity of the muted colors, while saturation affects all colors equally. For Sedona’s landscapes, a slight increase in vibrance can really help those reds and oranges shine without making them look cartoonish.
Related Resource
Additionally, consider using selective color adjustments to refine specific hues. For example, boosting the reds while toning down other colors can help emphasize the iconic Sedona landscape. This attention to color detail can transform a good photo into a stunning one.
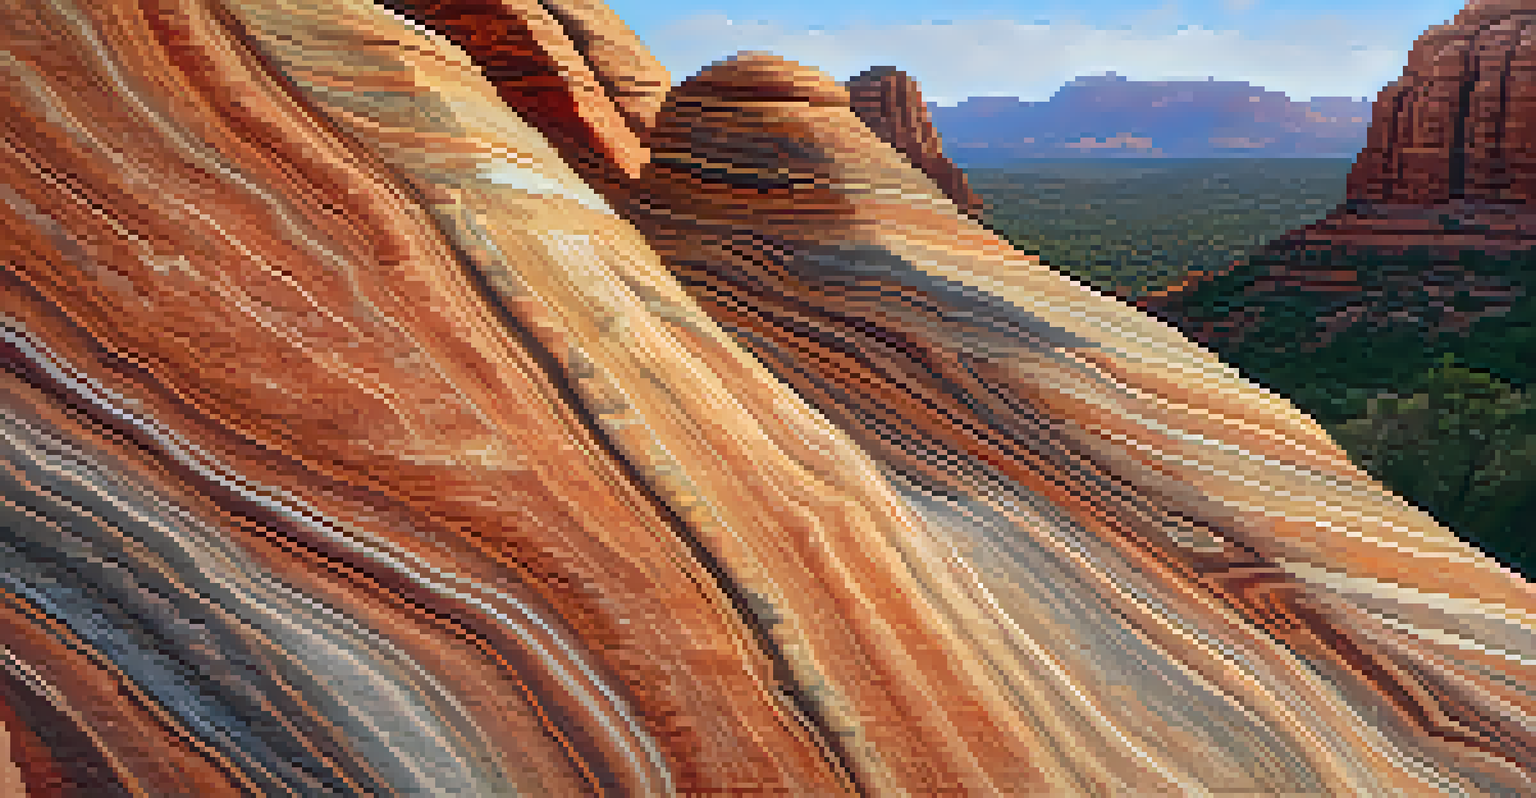
Sharpening Details for Crisp Landscapes
Sharpening is a critical step in post-processing, especially for landscape photography where you want to highlight textures in rocks, trees, and skies. It helps bring out the finer details that might get lost in the original image. However, be cautious not to over-sharpen, which can result in a gritty or unnatural look.
Most editing software includes a sharpening tool that allows you to adjust the amount, radius, and detail. A good starting point is to apply a moderate amount of sharpening and then zoom in to see the effect on your photo. This way, you can ensure that the details are crisp without introducing noise.
Balance Exposure for Impact
Achieving balanced exposure is crucial for capturing Sedona's dramatic landscapes, ensuring that rich colors and details are highlighted.
Remember, sharpening should be one of the last steps in your editing process. By applying it after other adjustments, you can maintain control over how your final image looks. This step can elevate your Sedona landscapes from ordinary to extraordinary.
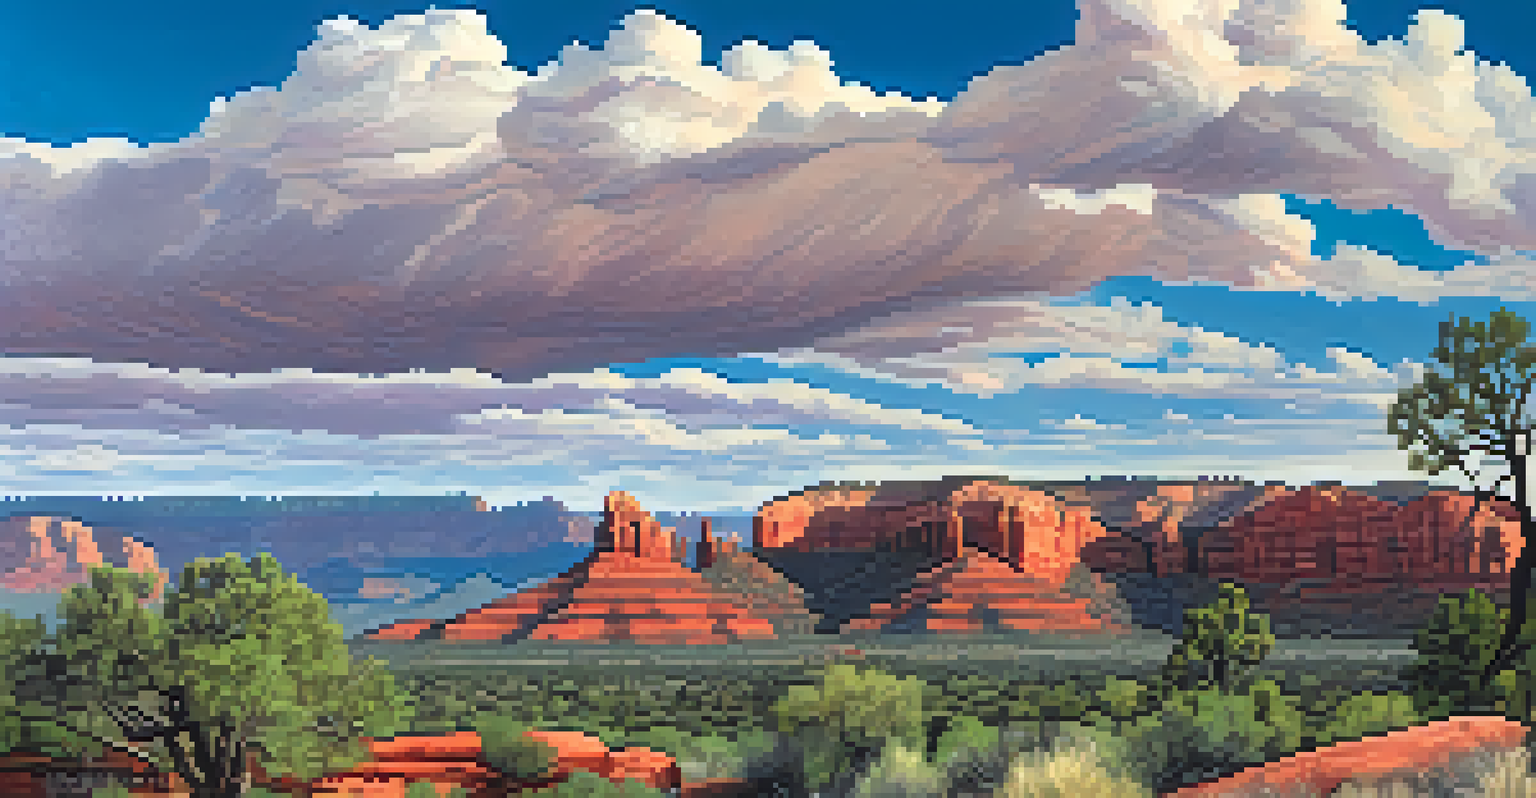
Utilizing Graduated Filters for Dynamic Skies
Sedona's landscapes often feature dramatic skies that can enhance your photographs immensely. Utilizing graduated filters in post-processing allows you to balance the exposure between the sky and the land, ensuring both elements shine in your final image. This technique is particularly useful during sunrise or sunset when the sky is ablaze with color.
In editing software, a graduated filter tool can help you apply adjustments only to certain areas of your photo. By darkening the sky or enhancing its colors without affecting the foreground, you can create a more harmonious composition. This way, the beauty of Sedona's skies complements its stunning rock formations.
Related Resource
Experiment with different settings and placements of the filter to see how it transforms your image. The goal is to create a seamless blend that feels natural, drawing the viewer's eye across the landscape. With some practice, this technique can become a staple in your editing toolkit.
Cropping for Composition and Focus
Sometimes, the best way to enhance a photo is to crop it thoughtfully. Cropping can help improve composition, drawing attention to the most important elements of your Sedona landscape. By focusing on specific details or removing distractions, you can create a more impactful image.
Consider the rule of thirds when cropping; this principle suggests placing key elements off-center for a more dynamic composition. For example, if the red rocks are your focal point, position them in one of the intersecting points rather than dead center. This approach can create a sense of balance and movement in your photo.
Enhance Colors and Details
Enhancing colors and sharpening details can transform your landscapes, making the iconic hues of Sedona truly pop without appearing unnatural.
Don't be afraid to experiment with different crop ratios and orientations—landscape, portrait, or square—until you find the one that best showcases your scene. The right crop can elevate your photo from a simple snapshot to a captivating piece of art.
Final Touches: Noise Reduction and Exporting
After making all your adjustments, it's essential to ensure your image is as polished as possible. Noise reduction is often necessary, especially if you shot in low light conditions. This step helps smooth out any graininess that can distract from the beauty of your Sedona landscapes.
Most editing software has specific noise reduction tools that allow you to target the type of noise present in your image. Apply this subtly to avoid losing critical details, especially in textured areas like the rocks. A little goes a long way in enhancing the overall quality of your photograph.
Finally, when exporting your image, choose the right file format and resolution for your intended use. Whether you’re sharing online or printing, ensuring your photo maintains its quality is crucial. With these final touches, you can present your Sedona landscapes in the best light possible.